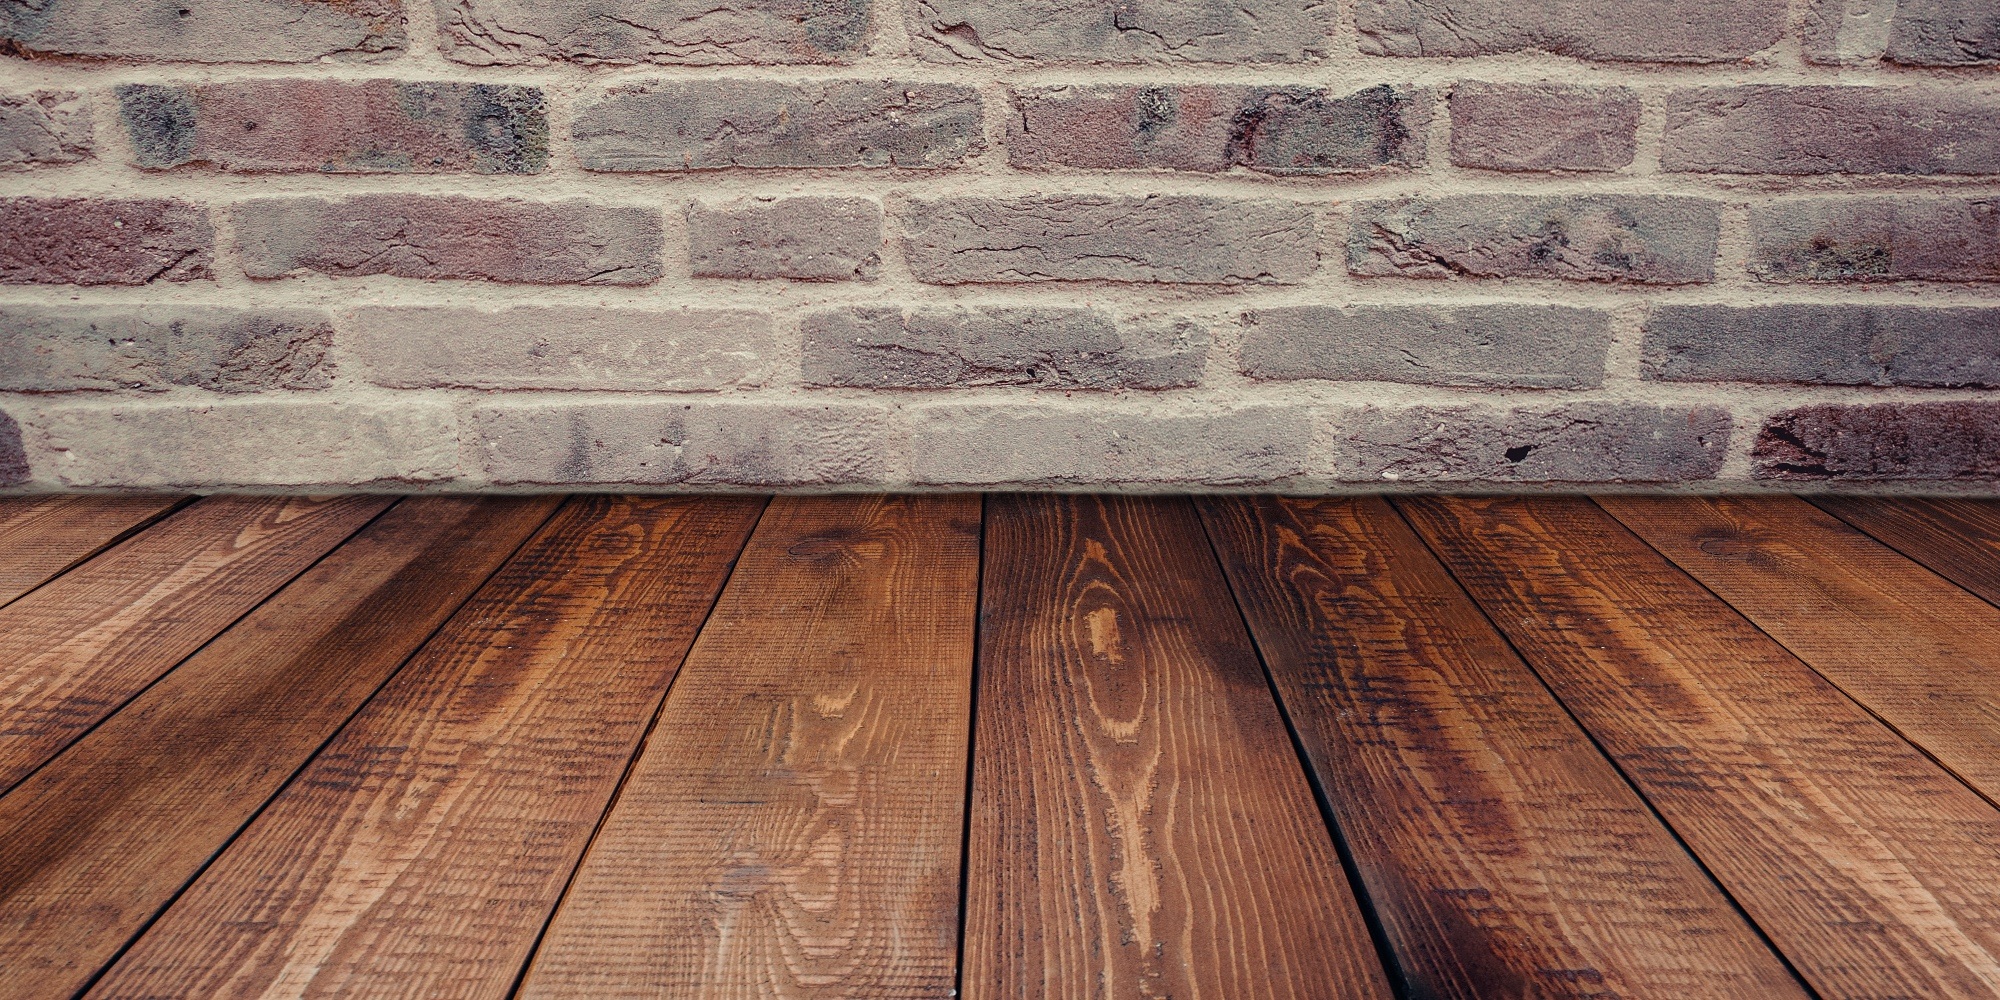
If you’re looking for a new floor and fancy something a little fancier than laminate, but not as pricey as real wood, engineered wood floor is the perfect middleman! With a real wood top layer and a man-made core, this is a great option for any home. It’s also one of those floors that you can install yourself, should you fancy yourself as the avid DIYer that is! Floorboards are in fashion and becoming popular statement pieces in homes, in fact simple renovations like this can increase the value of your home.
In this post we’ve teamed up with Luxury Flooring, to discuss the 3 main installation methods for engineered wood floor. These are:
Glue down
Nail down
Floating floor
So lets explore them a little further..

Floating Method
The first and most important thing you need to do with engineered wood floor is acclimatize the floor, this should take around 3-5 days. If you’re not sure what it acclimatizing is, this is the process in which you condition the moisture content of the floor to the environment of which it is going to be installed in and where it is expected to perform. A bit like when you buy a fish from the pet shop and you have to get it used to the temperature of your tank!
Once the floor has been acclimatized to its surroundings then it’s time to crack on with the real work! Starting off by laying a single layer of underlay, this will ensure that the floor is protected and will wear more evenly. On top of this, a decent underlay can add an extra layer of insulation to a room.
The next thing you need to decide is which way you would prefer to lay the planks, and then start laying them from the longest wall. It’s important that when you are placing the first plank down that you do so with a spacer, this will then allow for any expansion of the wood once it has been laid.
Then, using the tongue and groove joints you can fit the rest of the floor, knocking it into place using a kick tool and a hammer. When all the flooring is down you can remove the spacers and fit the threshold strip around the perimeter of the floor. This should then result in all expansion gaps that have occurred being fully covered, leaving you with a beautiful new wood floor!
Nailing Method
This method requires the same start as the method above, you need to acclimatize the floor before you can do anything. Again, start by laying the flooring at the longest wall, only this time try to leave an expansion gap of around 10 mm between the floor and the wall.
When it comes to inserting the fixings you must ensure that the joints at the end of each board are around 100 mm apart. Once complete then remove all spacers and fit threshold strips around the perimeter of the floor to cover any expansion gaps.
Glue Down Method
If the sub floor that you are using is concrete then it is recommended that you install engineered flooring using the glue down method. However, if the concrete is uneven then chipboard or plywood should be placed on the top of it to produce an even surface for the flooring to be installed on. A damp proof membrane may also need to be laid, this is designed to prevent any moisture rising and seeping into the product.
This process starts exactly the same as the two prior to it, by acclimatizing the floor to its surroundings. Once this has been done you can start dry laying the first boards, starting at the longest wall in which the tongues of the first couple of rows should face the wall and leaving an expansion gap of around 10 mm.
Once the floor has been provisionally laid, pull up the first couple of rows and apply the adhesive evenly to the sub-floor. Lay the flooring to the adhesive ensuring spacers are used to create an expansion gap of 10 mm. As with other engineered flooring methods, it is recommended that you work from the longest wall to the other side of the room.
Again, once the floor is laid remove all spacers and fit the threshold strips around the perimeter of the floor to cover any expansion gaps.
And there you have it! A little guide into the most popular methods of installing engineered wood floor. Of course it’s completely up to you which one you use, if any. We also understand that not everyone is DIY confident, in this case we would recommend hiring a professional floor fitter who will gladly do the job for you!